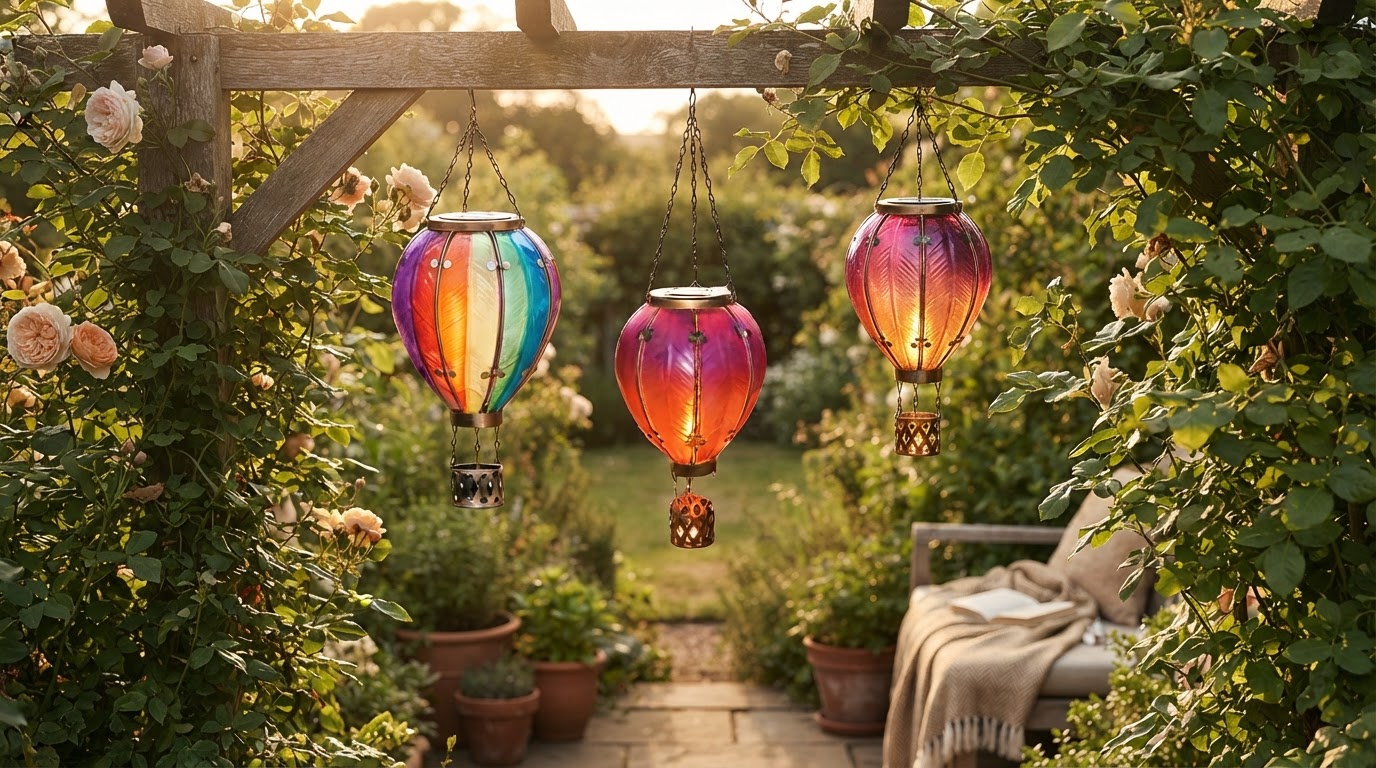
How to Install and Style Solar Balloon Lanterns in Your Garden
Adding charm to your yard with solar-powered accents is simple when following proper placement techniques. Learn complete garden design concepts in the main guide.
Follow these step-by-step instructions to set up and style your solar balloon lanterns.
Step 1: Unpack and Inspect Lantern Components

Unpack your lantern and inspect the metal and PVC housing, confirming the rust-resistant protective treatment is smooth and complete. Ensure the integrated top solar panel is free of protective films or shipping dust.
Step 2: Select an Optimal Direct Sunlight Location

Choose an outdoor display area that receives direct sunlight during daytime hours. Avoid mounting under dense evergreen canopies that block solar absorption, ensuring the built-in collector recharges efficiently.
Step 3: Mount Hooks or Prepare Hanging Attachments
Install heavy-duty shepherd hooks in flowerbeds or secure screw hooks into porch overhangs and pergola beams. Ensure your mounting hardware supports at least 1.2 - 2.0 lbs lbs to prevent swaying during heavy winds.Step 4: Arrange Lanterns by Size and Pattern for Visual Balance
Hang your lanterns at varying vertical levels. Position Large (20.1 in) lanterns on higher hooks or sturdy tree branches, and stagger Small (13.1 in) lanterns below. Combine complementary colorways—such as Gradient and Ombre—to create a balanced visual focal point that lights up with an LED flame effect glow at dusk.Read the full guide: The Ultimate Guide to Hot Air Balloon Garden Decor Ideas